Are you ready to give your home a fresh look? DIY home renovation projects for beginners can be a fun and rewarding way to improve your living space. Not only can you save money, but you can also create a home that reflects your style and personality. Whether you want to paint a room, install shelves, or completely change a space, there are plenty of projects for beginners. This blog will guide you through some easy DIY home renovation ideas, tips, and tricks to help you get started.
Why Choose DIY Home Renovation?
1. Save Money
Hiring professionals can be expensive. By doing it yourself, you can save a lot of money. You only need to pay for materials, tools, and any extra help if needed.
2. Learn New Skills
DIY projects are a great way to learn new skills. You might learn how to paint, install flooring, or even build furniture. These skills can come in handy later in life.
3. Personal Satisfaction
There is a special feeling when you complete a project with your own hands. You get to enjoy the fruits of your labor and show off your work to friends and family.
4. Creative Freedom
When you do it yourself, you have complete control over your project. You can choose colors, materials, and designs that fit your style.
5. Family Bonding
DIY projects can be a fun way to spend time with family. You can work together, share ideas, and create something special as a team.
Tips for Successful DIY Projects
Before diving into your first project, here are some tips to keep in mind:
1. Start Small
If you’re new to DIY, start with small projects. This will help you build confidence and learn as you go. As you gain experience, you can tackle bigger projects.
2. Plan Ahead
Before starting any project, make a plan. Decide what you want to do, gather your materials, and outline the steps you’ll take. A good plan will make the process smoother.
3. Gather Tools
Having the right tools is essential for any DIY project. Some basic tools you might need include:
- Hammer
- Screwdriver (flathead and Phillips)
- Tape measure
- Level
- Paintbrushes and rollers
- Utility knife
- Safety gear (gloves and goggles)
4. Do Your Research
Look for tutorials online. Websites, blogs, and videos can provide valuable tips and tricks. Learn from others’ experiences to avoid common mistakes.
5. Be Patient
DIY projects may take longer than you expect. Don’t rush the process. Take your time to do things right and enjoy the journey.
10 Easy DIY Home Renovation Projects
Now that you know the benefits and tips for DIY home renovation, let’s look at some simple projects that beginners can try.
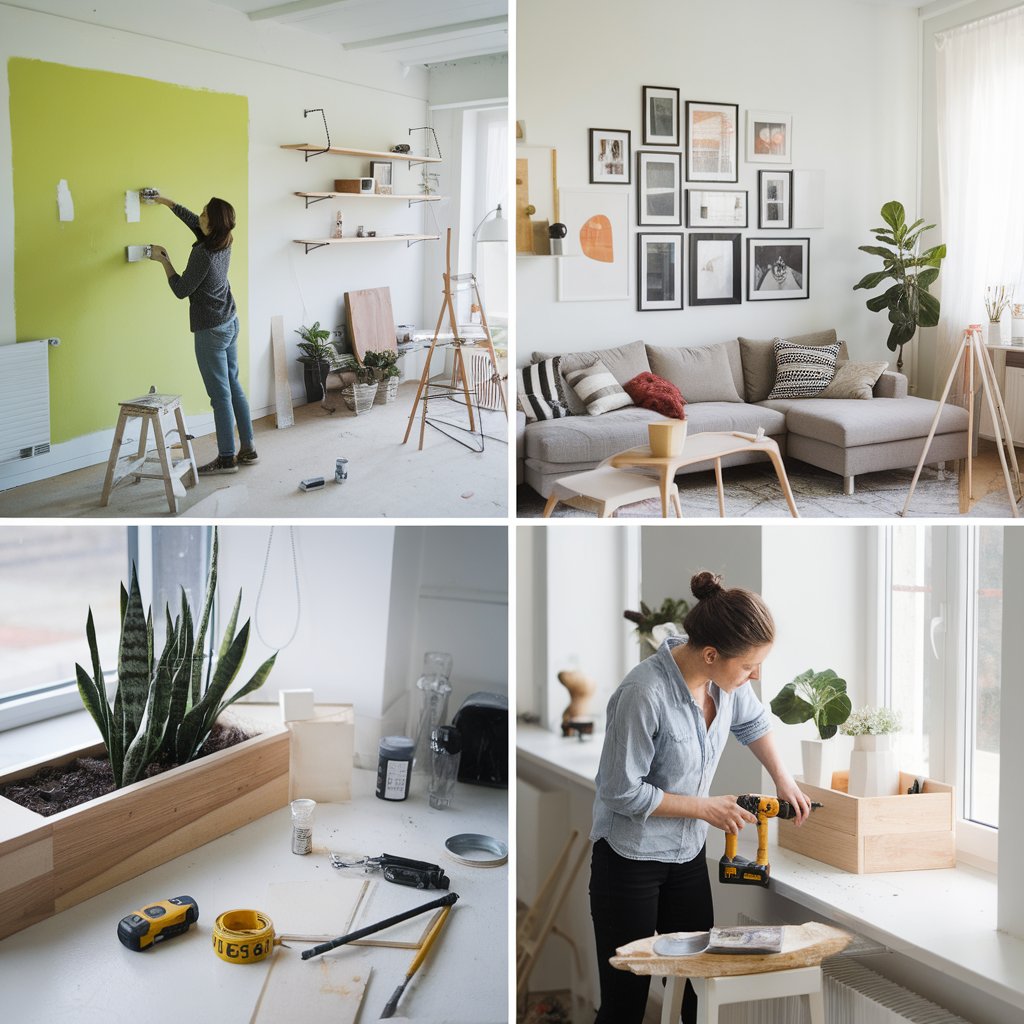
1. Fresh Coat of Paint
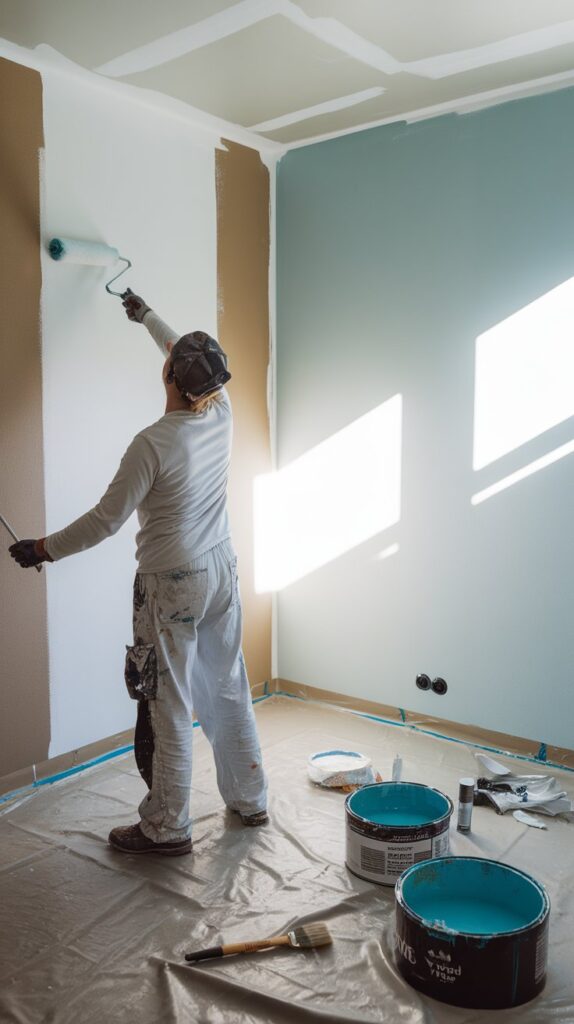
What You Need: Paint, paintbrushes, rollers, painter’s tape, drop cloths.
How to Do It:
- Choose a color that fits your style.
- Remove furniture and cover floors with drop cloths.
- Use painter’s tape to protect edges and trim.
- Start with the edges using a brush, then use a roller for larger areas.
- Allow it to dry completely before moving furniture back.
Why It’s Great: A fresh coat of paint can completely change the look of a room. It’s easy and affordable!
2. Create a Gallery Wall
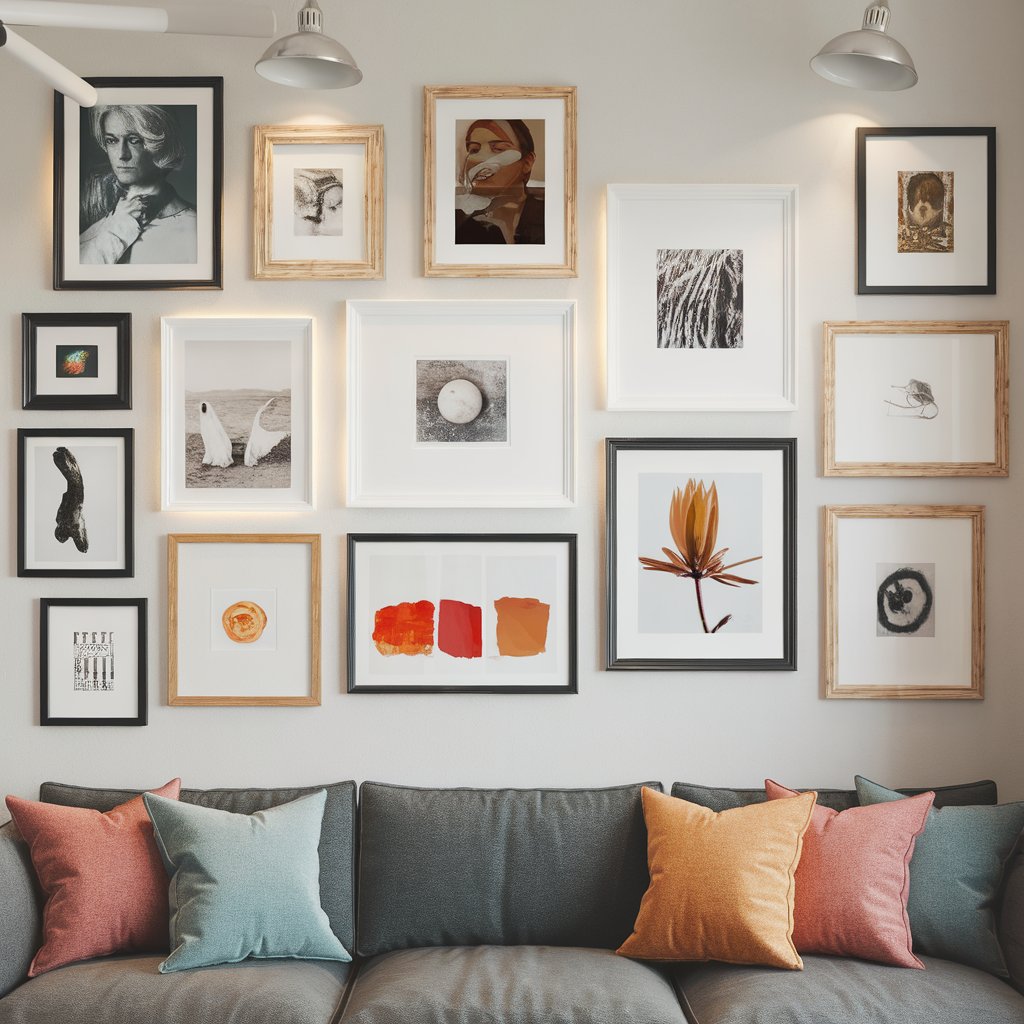
What You Need: Picture frames, photos or art, a level, hammer, nails.
How to Do It:
- Choose a wall to display your art.
- Gather frames of different sizes.
- Arrange the frames on the floor to find a layout you like.
- Hang the frames on the wall using a level to keep them straight.
Why It’s Great: A gallery wall adds personality to your space and showcases your creativity.
3. Install Floating Shelves
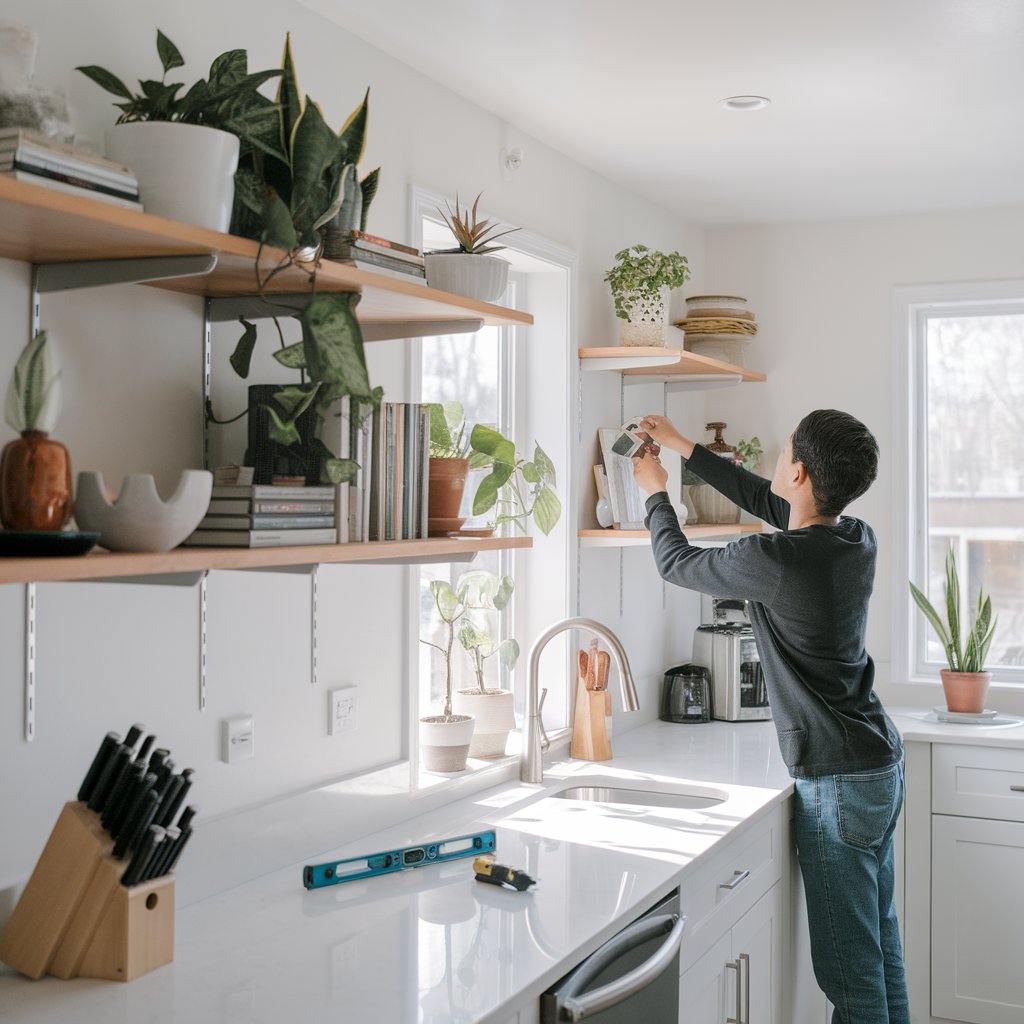
What You Need: Floating shelves, brackets, screws, drill, level.
How to Do It:
- Choose a location for your shelves.
- Use a level to mark where the brackets will go.
- Drill holes and attach the brackets.
- Slide the shelf onto the brackets.
Why It’s Great: Floating shelves provide extra storage and display space without taking up floor space.
4. Update Cabinet Hardware
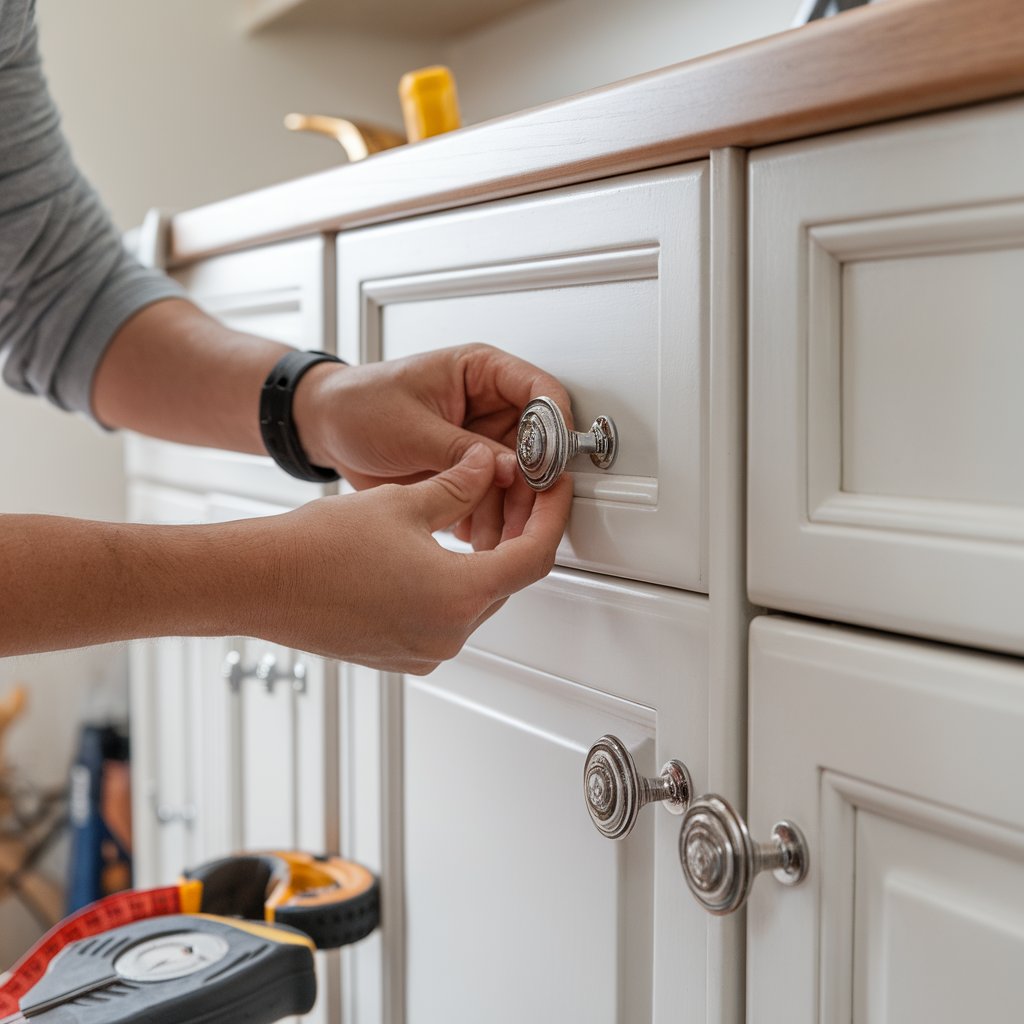
What You Need: New knobs or handles, screwdriver.
How to Do It:
- Choose new hardware that matches your style.
- Remove the old knobs or handles.
- Attach the new ones in the same holes for easy installation.
Why It’s Great: Updating cabinet hardware is a quick and easy way to refresh the look of your kitchen or bathroom.
5. Build a Simple Planter Box
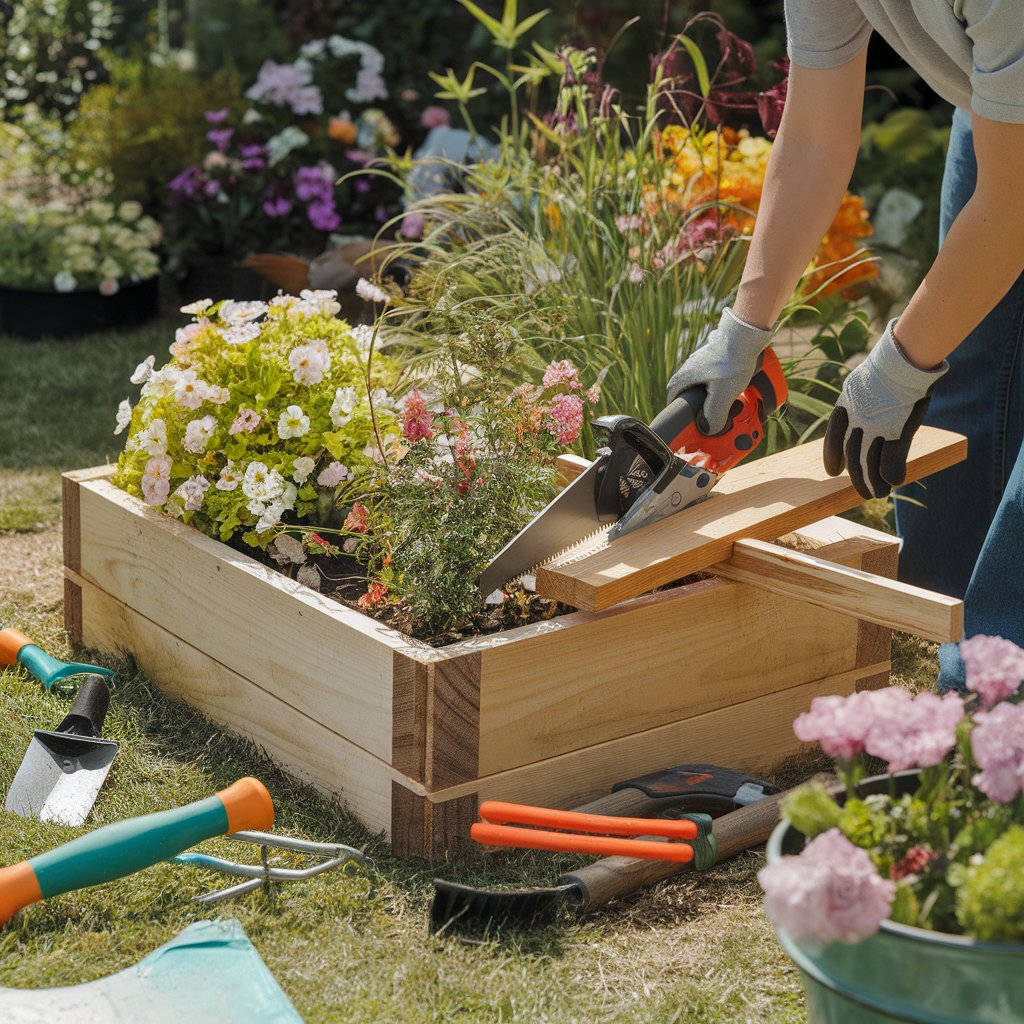
What You Need: Wood boards, nails or screws, hammer or drill, wood stain or paint.
How to Do It:
- Cut the wood to the desired size for your planter.
- Assemble the pieces using nails or screws.
- Paint or stain to protect the wood.
- Fill with soil and your favorite plants.
Why It’s Great: A planter box is a great way to bring greenery to your home or garden. It’s also a fun project for beginners!
6. Create a Mudroom Bench
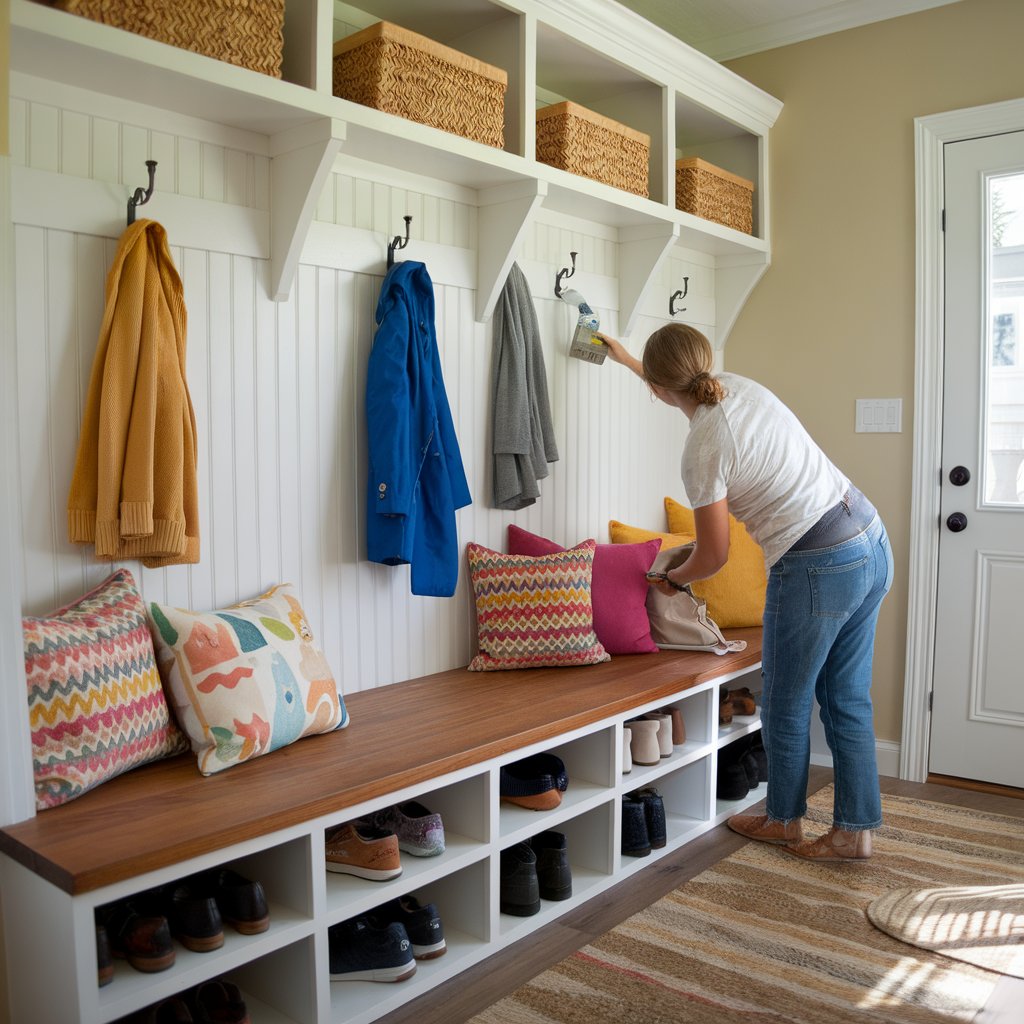
What You Need: Wood boards, screws, drill, paint or stain.
How to Do It:
- Measure your space and cut wood to size.
- Assemble the bench by attaching the pieces together.
- Paint or stain for a finished look.
- Add cushions for comfort.
Why It’s Great: A mudroom bench is practical for storing shoes and bags while keeping your entryway tidy.
7. Refresh Your Bathroom with Peel and Stick Tiles
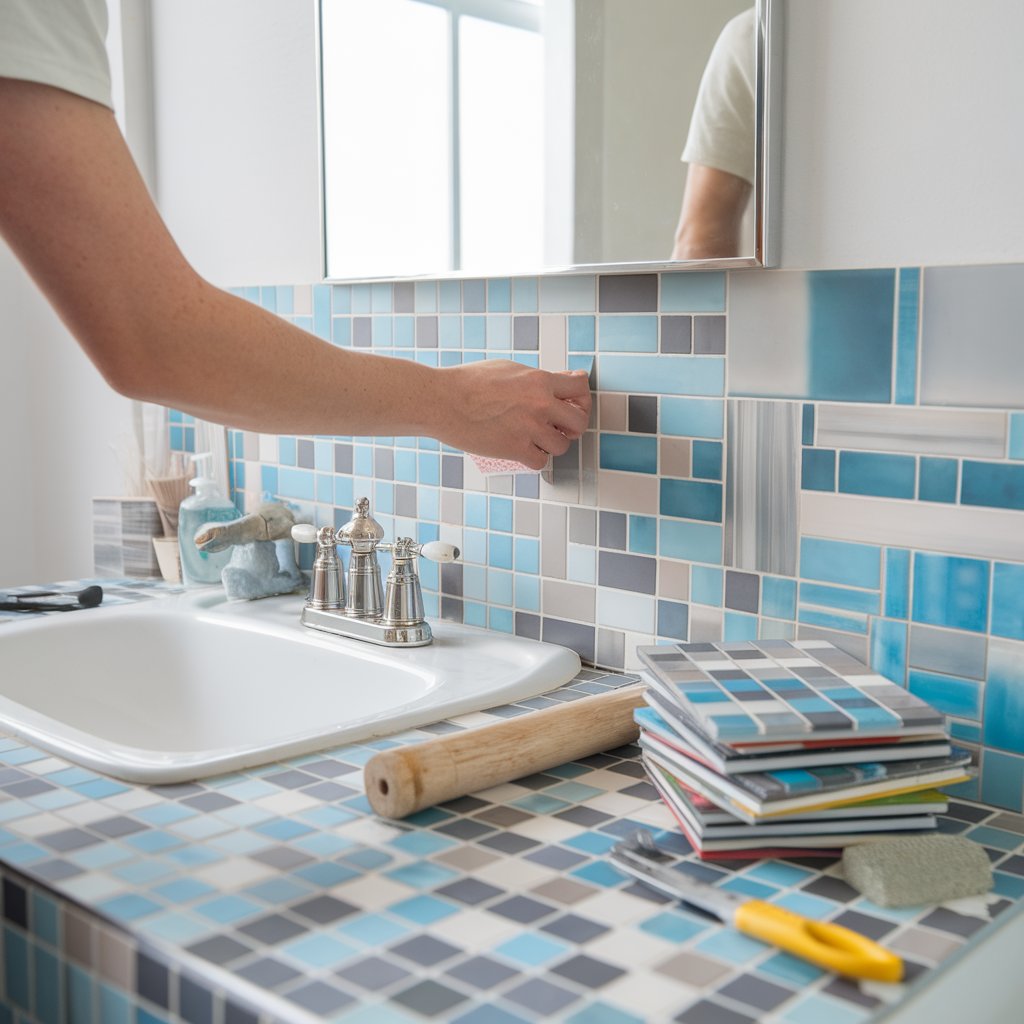
What You Need: Peel and stick tiles, utility knife, ruler.
How to Do It:
- Clean the surface where you’ll apply the tiles.
- Measure and cut tiles to fit around corners.
- Peel off the backing and stick the tiles in place.
Why It’s Great: Peel and stick tiles are easy to use and can quickly update your bathroom or kitchen without messy grout.
8. Make Your Own Artwork

What You Need: Canvas, paint, brushes, imagination.
How to Do It:
- Get a blank canvas from a craft store.
- Use paint and brushes to create your artwork.
- Hang your finished piece on the wall.
Why It’s Great: Creating your own artwork lets you express your creativity and fill your home with personal touches.
9. Install a New Faucet
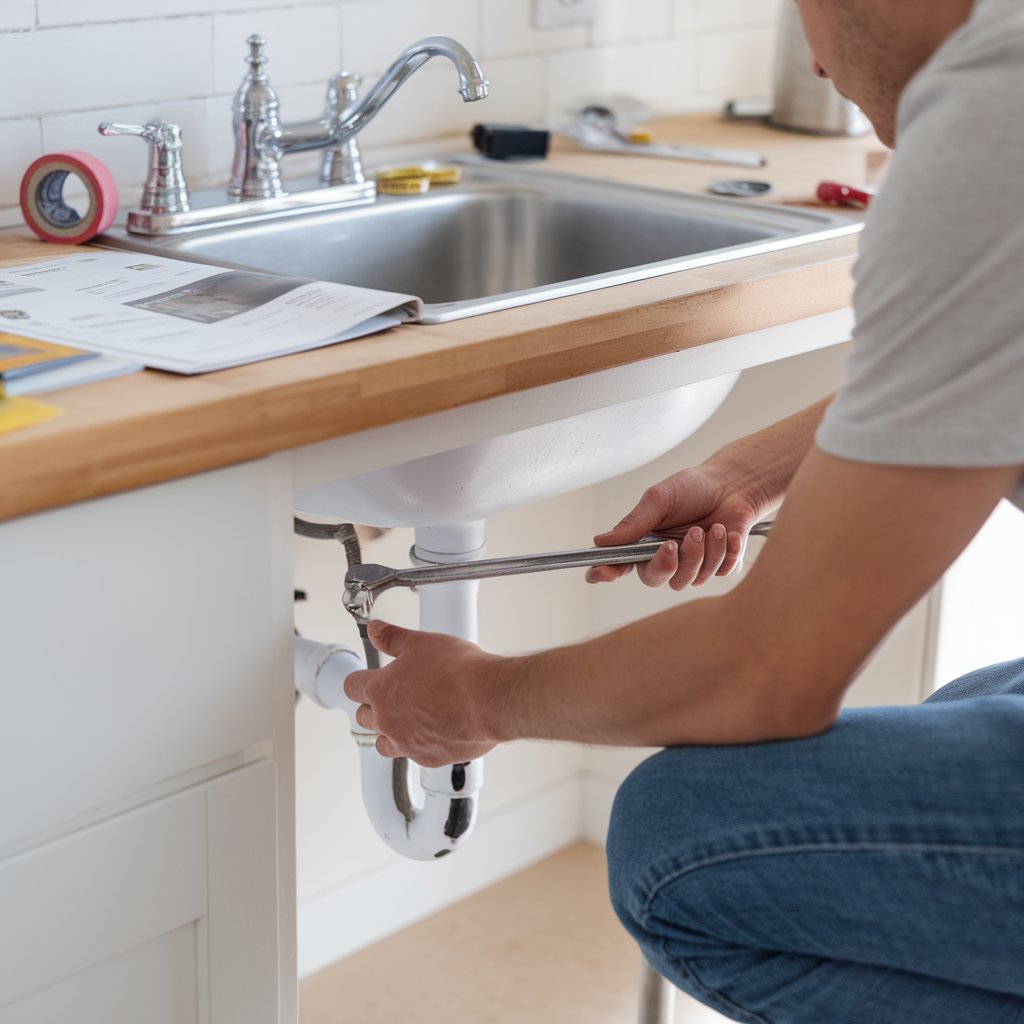
What You Need: New faucet, adjustable wrench, plumber’s tape.
How to Do It:
- Turn off the water supply under the sink.
- Remove the old faucet by loosening the nuts with a wrench.
- Install the new faucet following the manufacturer’s instructions.
- Turn the water supply back on and check for leaks.
Why It’s Great: Replacing a faucet can modernize your kitchen or bathroom and is easier than it sounds.
10. Build a Fire Pit
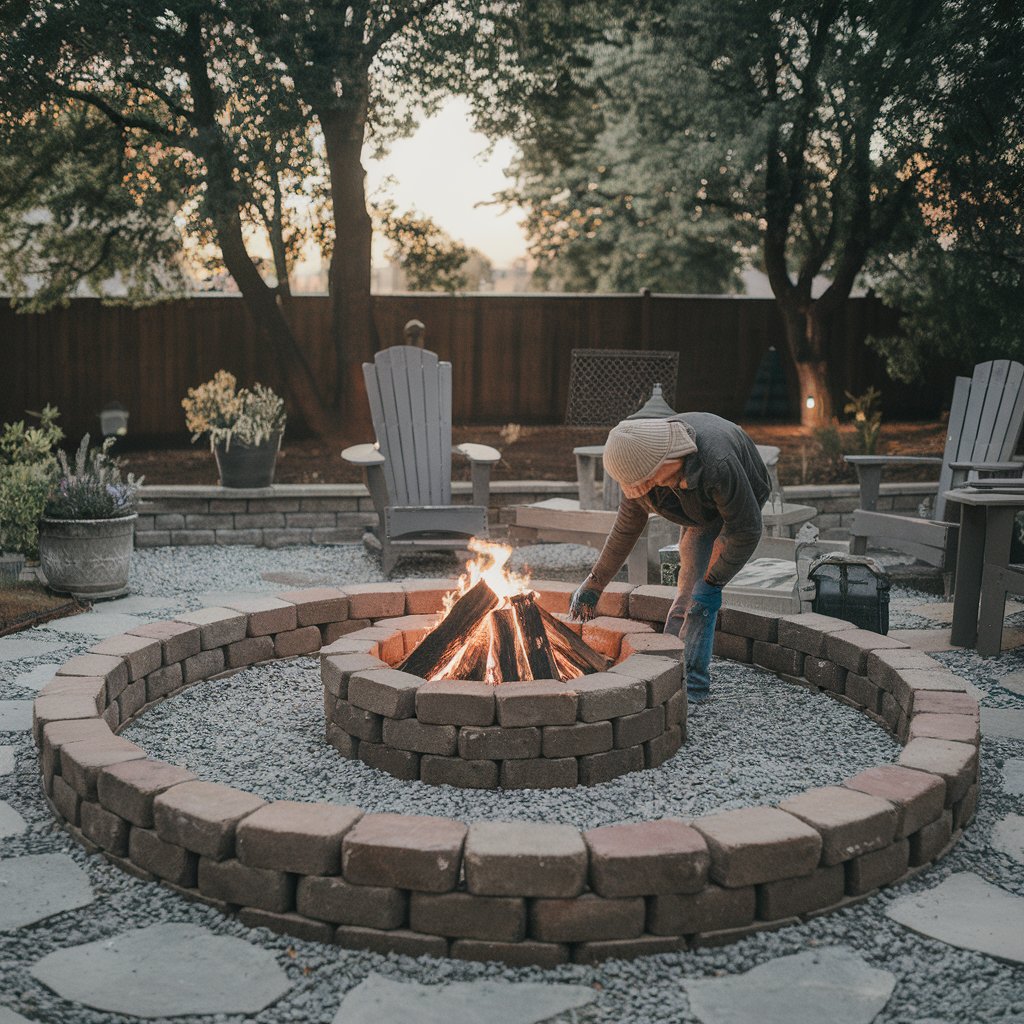
What You Need: Bricks or pavers, shovel, gravel.
How to Do It:
- Choose a location in your yard.
- Dig a circular area about 6 inches deep.
- Lay gravel at the bottom for drainage.
- Arrange bricks or pavers in a circle to create the fire pit.
Why It’s Great: A fire pit is perfect for outdoor gatherings and adds a cozy atmosphere to your backyard.
Safety First!
While DIY projects can be fun, it’s important to prioritize safety. Here are some tips:
- Always wear safety gear, such as goggles and gloves, when working with tools.
- Read all instructions carefully before starting a project.
- Keep your workspace clean to avoid accidents.
- Don’t hesitate to ask for help if you’re unsure about something.
Final Thoughts
DIY home renovation projects are a great way for beginners to express their creativity and improve their living space. With the right tools, a bit of planning, and a willingness to learn, you can tackle various projects that add value and beauty to your home. Remember to start small, enjoy the process, and be proud of your accomplishments.
So grab your tools, gather your materials, and let’s get started on your DIY home renovation journey! You’ll be amazed at what you can create with your own two hands.

